How to pipette manually
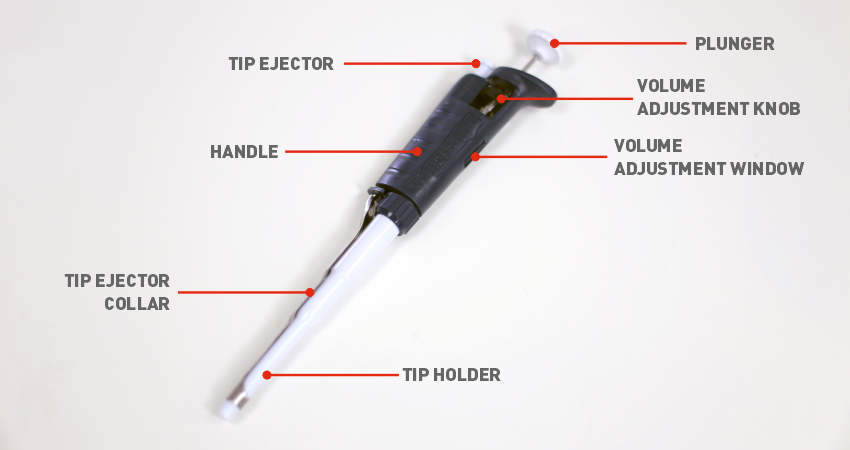
Anatomy of a pipette
Step-by-step instructions for forward pipetting
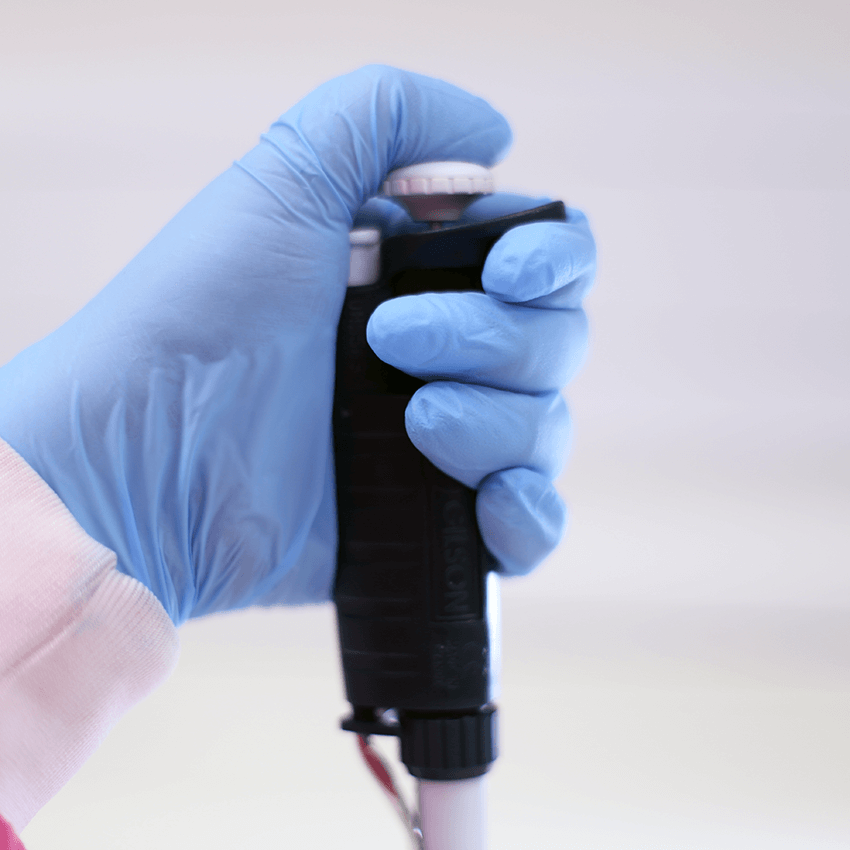
1 – Grip the pipette by the handle with your fingers wrapped around the body.
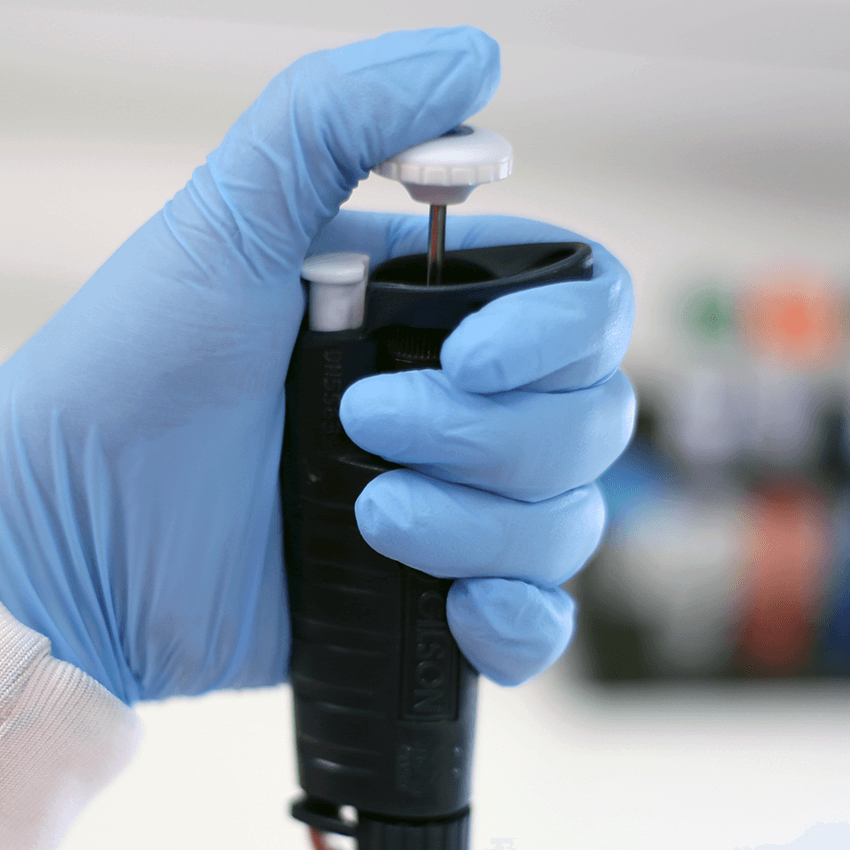
2 – In this position you should be able to reach both the plunger and the tip ejector comfortably.
3 – The plunger has two positions, feel them by pushing down with your thumb.
4 – Press to the first position, then feel the resistance. Press past the resistance and feel the second position.

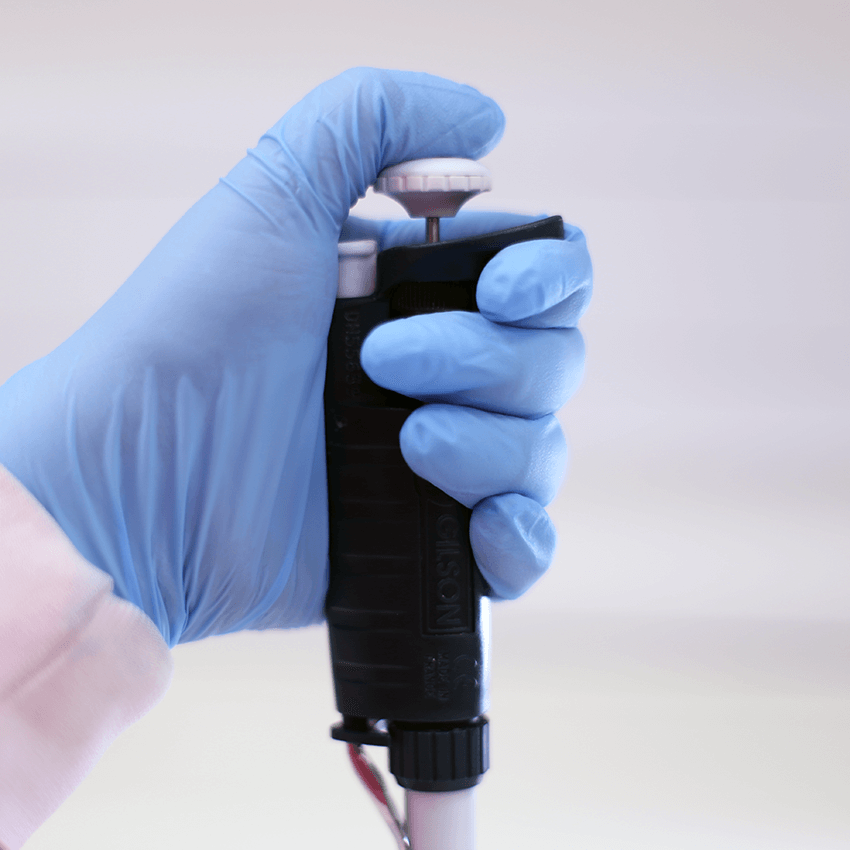
5 – To set the volume twist the volume adjustment knob, watch the numbers increase or decrease as you turn it. Set the numbers to equal your desired volume, reading from the top number down.
6 – Without touching the pipette tip with your hand, place the pipette tip on the end of the pipette.
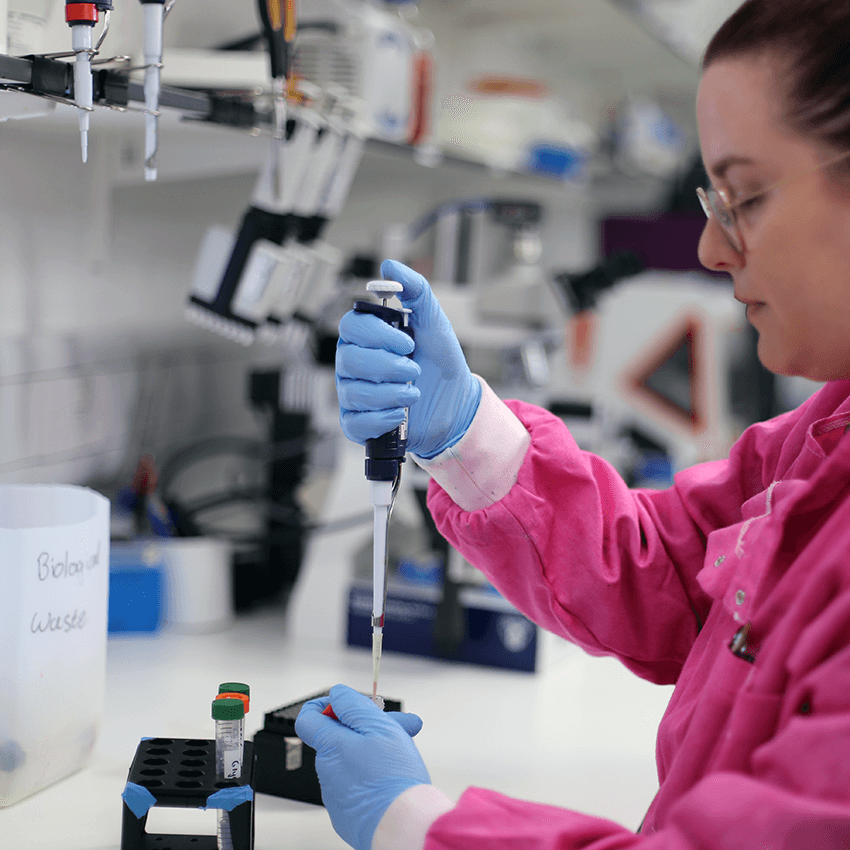
7 – Press down the plunger to the first position. Place the pipette tip only in a receptacle of liquid.
8 – Slowly release the plunger back up with the tip still in the liquid. Watch as the liquid line rises up within the pipette tip.

9 – Move the pipette tip over your target receptacle. Don’t allow the tip to touch any other surface.
10 – Slowly push the plunger down to the first position, watch as the liquid dispenses into the receptacle.
11 – Hold pressure and push the plunger down further to the second position. This additional step, called a ‘blow-out,’ expels any remaining liquid from the tip, ensuring accurate dispensing of the full volume.

12 – Hover the empty tip over the disposal bin and press the eject button firmly. The eject collar will push the tip off.
How to read the display
| Display meaning | Example | |
|---|---|---|
| P10 pipette | The top number represents tens, the middle is ones, and the bottom shows decimal microlitres (µL). | If the display reads “095” the pipette is set to 9.5 µL |
| P200 pipette | The top number represents hundreds, the middle is tens, and the bottom shows single microlitres (µL). | If the display reads “125” the pipette is set to 125 µL |
| P1000 pipette | The top number represents thousands, the middle hundreds, and the bottom tens of microlitres (µL). | If the display reads ”012”, the pipette is set to 120 µL |
Step-by-step instructions for reverse pipetting
The previous example describes forward, or direct pipetting, which is used for most applications. Reverse pipetting is used for applications with greater accuracy challenges, low volumes, or highly volatile or viscous solutions.
1 – Follow the instructions for forward pipetting until step 6
2 – Press down the plunger to the second position. Insert the pipette tip only into a receptacle of liquid
3 – Slowly release the plunger back up with the tip still in the liquid. Watch as the liquid line rises up within the pipette tip. The liquid line should be slightly higher than if the same volume were aspirated using forward pipetting
4 – Move the pipette tip over your target receptacle. Don’t allow the tip to touch any other surface
5 – Slowly push the plunger down to the first position, watch as the liquid dispenses into the receptacle
6 – DO NOT push the plunger down to the second position, as this would dispense a greater volume than the expected volume
7 – Hover the empty tip over the disposal bin and press the eject button firmly. The eject collar will push the tip off
When reverse pipetting, you aspirate slightly more liquid than needed and then dispense the set volume, leaving a small excess in the tip. This prevents under-delivery and ensures the entire desired volume is transferred without loss or variation.
Advice to improve accuracy & precision
| Advice | Reasoning |
|---|---|
| Pre-wet the tip – aspirate & dispense the volume back to the source location a couple of times before completing the transfer. | This helps to condition the tip with the sample, reducing liquid evaporation and ensuring consistent volume transfer. |
| Eject the pipette tip often | This prevents cross-contamination between different samples. It also reduces the risk of residue buildup inside the tip, which can affect the precision of future measurements. |
| Dismantle & clean the pipette regularly | This prevents the buildup of contaminants, dust, or residues. Also maintains the smooth operation of internal components, extending the lifespan of the pipette and ensuring consistent performance. |
| Calibrate the pipette annually | Even slight mechanical wear or environmental factors can affect the pipette’s performance over time. Regular calibration helps maintain the reliability of your experiments. |
Want to free up your time for more exciting science?
Explore the benefits of automated liquid handling in our next article.

Fiona Kemm MRes | Scientist
Fiona is a vital member of our Research team, rigorously testing our robots to ensure scientists don’t break them. With no prior robotics experience, she was the ideal guinea pig for our world-class user experience and support. Holding a BSc in Biochemistry and an MRes in Molecular Microbiology, Fiona brings extensive hands-on expertise she applies across departments, supporting both users and internal teams. From writing insightful web articles to specialising in SQWERTY, Fiona ensures our innovations perform flawlessly, helping customers focus on the creative and interpretive aspects of science that can’t be automated.