Minimum Inhibitory Concentration (MIC)
How to do a high-throughput MIC
Abi Sparks1
1Singer Instruments
Introduction to Minimum Inhibitory Concentration (MIC)
Many labs around the world will be familiar with needing to determine the Minimum Inhibitory Concentration. The Minimum Inhibitory Concentration is defined as the lowest concentration of an antimicrobial agent required to completely inhibit the growth of a particular bacterial strain. The most common methods are explained below.
Disc diffusion assay / Halo assay
What is a disc diffusion assay? A disc diffusion assay (also known as a halo assay) involves dropping a paper disc infused with a known concentration of an antimicrobial onto an agar plate inoculated with a lawn to determine the Minimum Inhibitory Concentration. After overnight incubation you can record the presence/absence and size of the zone of inhibition (or “halo”).
Best for … people testing a small number of isolates that have well-documented susceptibility ranges (as then you know exactly how many discs you need).
Worst for … anyone who wants to test more than 1 strain per plate.
Broth microdilution assay
What is a broth microdilution assay? A serial dilution of antimicrobial in broth in a multiwell plate, inoculated with diluted cultures. The concentration of antimicrobial needed to inhibit growth is measured after overnight incubation. The lowest concentration that completely inhibits growth is the Minimum Inhibitory Concentration.
Best for … people who are testing a small number of isolates.
Worst for … people who care about the environment (you need 1 row on a plate per strain, so you can only fit 8 strains on each multiwell plate).
Agar macrodilution assay
What is an agar macrodilution assay? Diluting your antimicrobial in agar and spotting your isolates on the top to identify the concentration of antimicrobial needed to inhibit growth. Yep, you guessed it – this is the Minimum Inhibitory Concentration.
Best for … high-throughput labs who want to fit all of their strains and replicates on a single plate per concentration. Or, for those working with fastidious organisms that don’t enjoy growing in broth.
Worst for … impatient people who don’t wait for agar to cool before adding heat-sensitive antimicrobials (and subsequently, inactivating them!).
Case Study: University of Birmingham
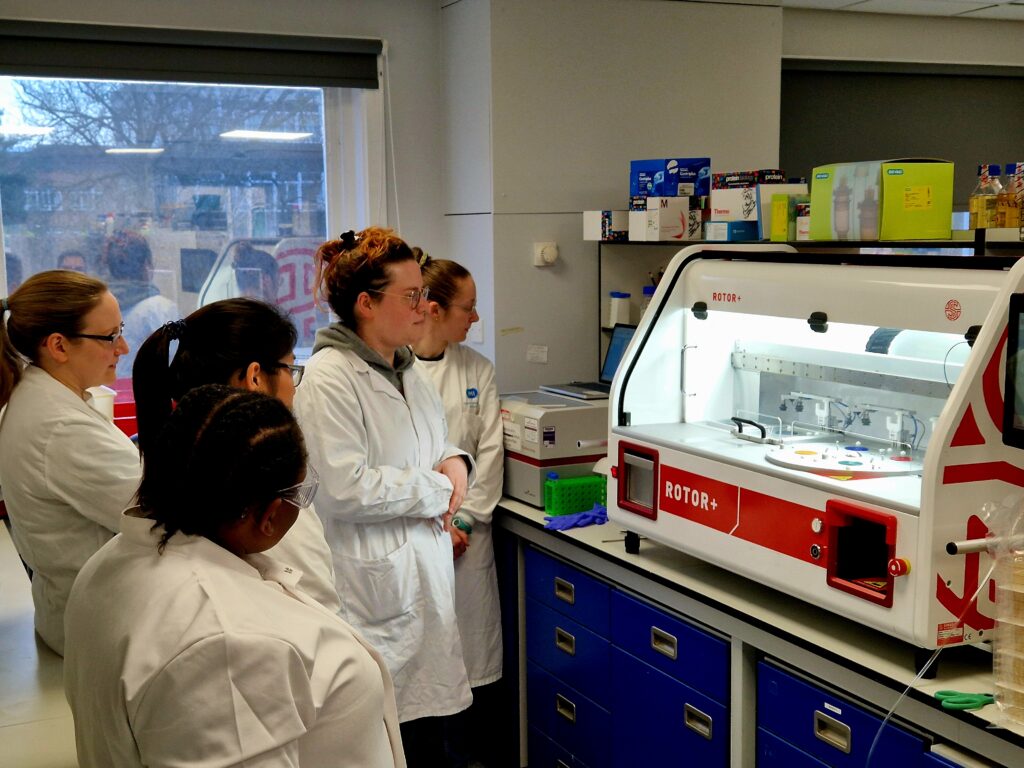
Professor Jessica Blair at the University of Birmingham used ROTOR+ to scale up her Minimum Inhibitory Concentration assay, using an Agar Macrodilution to save money & plastic.
How do I do a high-throughput agar macrodilution assay?
- Acquire a ROTOR+
Of course, if you want to try the technique first you might want to try a hand stamper. But if this is going to be a frequent assay in your lab or you need the throughput, you won’t want to torment your lab rats with the manual method for too long (speaking from experience here). - Work out the antibiotic concentrations to test
Just because you can test from 0.001 µg/ml to 100 mg/ml, doesn’t mean you should! Take a look at https://www.eucast.org/ to work out the specific ranges that are relevant to the organism(s) you are testing. It may be that you will need to test a larger range for one antibiotic than another. - Prepare your plates
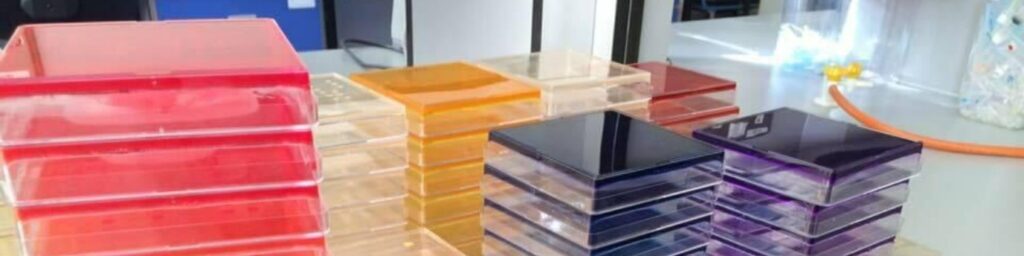
You will need to pour 1 PlusPlateTM per antibiotic concentration you want to test, more if you’d like biological replicates. - Prepare your cultures
You’ll want to standardise your starting inoculum. The gold standard, as per EUCAST guidelines, is to aim for OD600 using a spectrophotometer. This requires some magic (maths). There are various online calculators that can help you with this. - Use ROTOR+ to pin your cultures
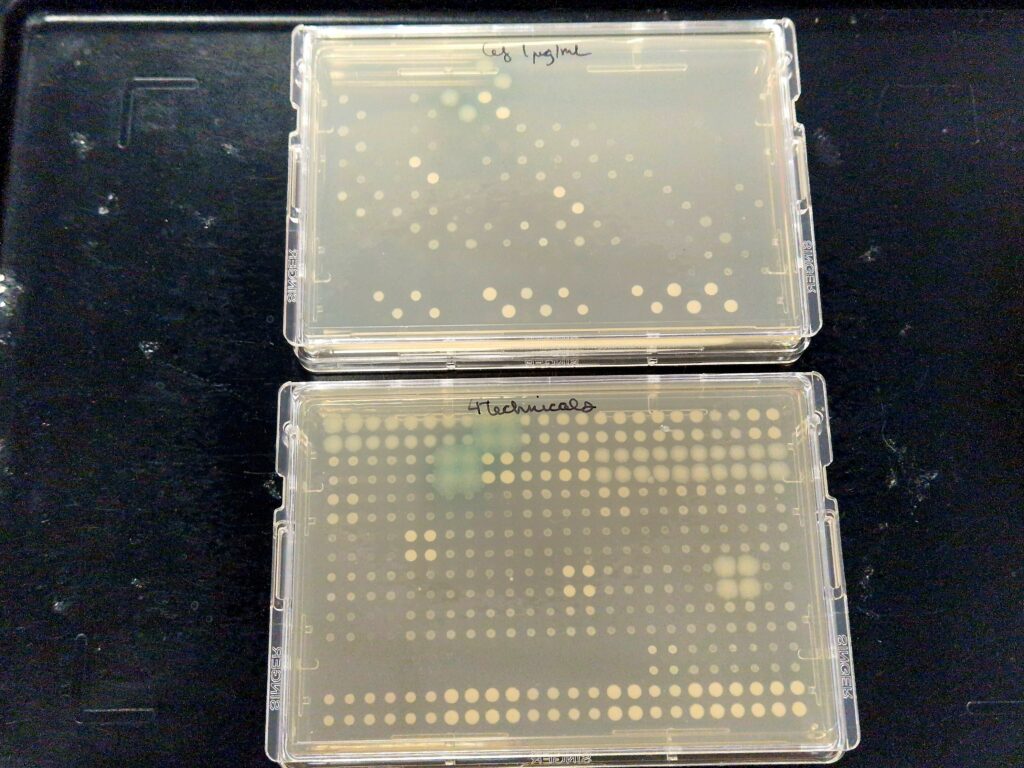
Once your plates are dry, spot the cultures onto your plate. If using ROTOR+, you can feasibly spot 384 strains from liquid cultures (in a multiwell plate) to agar. Higher densities could be achieved by duplicating from agar colony arrays onto antibiotic plates the next day. - Wait for the spots to dry and incubate
Allow the spots of culture to dry. As ROTOR+ deposits ~200 nanolitres, the spots dry very quickly. If using a hand stamper, the drying may need to be extended or done near a bunsen. - Read your results
Look for the first concentration of each antimicrobial that completely inhibited the growth of your strain – this is your MIC!
Tips & tricks
- You’ll want a “Start” and “End” plate that are free from antibiotics as controls. This is to show that your strains can grow under normal conditions, and check for contamination.
- Biological replicates (multiple agar plates for each condition) and technical replicates (within the same plate) are good controls.
- Don’t be tempted to lift the plates up and look at them while the inoculum spots are drying. You want to make sure they dry without running!
- If using SBS plates, consider using PlusPlatesTM. Why? They’re cheaper than most suppliers of SBS plates. They also contain a useful groove that means that you can never accidentally read your plate upside down. Well, you still could, but it’s more difficult!
- Make your antibiotic stocks the day before the assay. Trust me, it helps!
Want to see the real deal? Read our article from the University of Birmingham, where they used ROTOR+ to do a high-throughput MIC.
Already doing MICs and looking to scale up?
Take a closer look at ROTOR+ for high-throughput solutions

Abi Sparks, PhD | Science Communicator
Abi Sparks is a microbiologist who swapped her lab coat for a keyboard as a Science Communications Specialist. She has a PhD in Molecular Microbiology and importantly, a golden retriever called Spud!